Best Plate Carrier Set up
You’ll need Level III or IV hard plates if rifle threats are likely, with Level IV stopping .30-06 M2 AP rounds, and ICW-rated plates requiring soft armor underneath. Go light with a React Plate Carrier for home defense using 10×12 plates, or choose the Skeletac for heavy loads with 11x14s. Keep mags centered up front, IFAK on the side, and route radio cables through shoulder straps. Test movement, check wear, and fine-tune fit from collarbone to navel-your setup’s only as good as your drills. More details ahead.
We are supported by our audience. When you purchase through links on our site, we may earn an affiliate commission, at no extra cost for you. Learn more. Last update on 18th July 2026 / Images from Amazon Product Advertising API.
Notable Insights
- Match armor level to threat: use Level IIIA for handguns, Level III/IV for rifle threats.
- Choose a plate carrier suited to your mission, like React for lightweight defense or Skeletac for heavy tactical loads.
- Position plates from collarbone to navel for optimal protection and secure, comfortable fit.
- Place rifle mags centered and high on the front for quick access and balanced weight in CQB.
- Secure cables and MOLLE gear to prevent snags, ensuring smooth movement and reliable function.
Choose the Right Armor Level for Your Threat
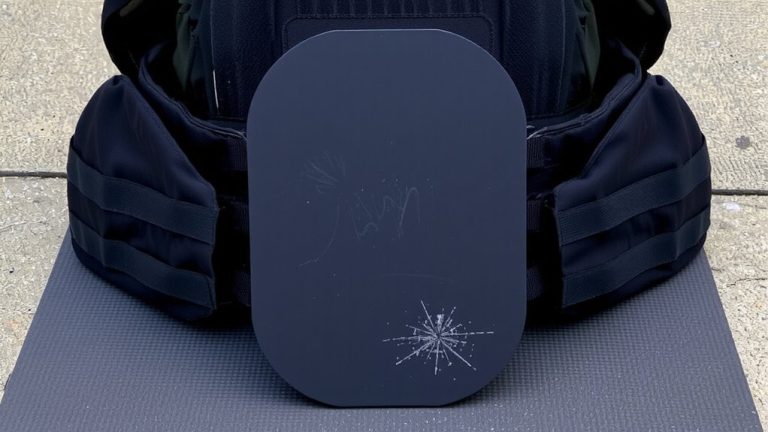
While you might be tempted to go for the highest-rated armor available, choosing the right level starts with understanding the actual threats you’re preparing for, especially in airsoft or low-risk training scenarios where excessive protection can slow you down unnecessarily. For handgun rounds like 9mm or .44 Magnum, Level IIIA soft armor offers solid ballistic protection and stays lightweight. If rifle threats are likely, Level III hard plates defeat common rounds like 7.62x51mm NATO. Level III+ plates, though not an official NIJ rating, often stop 7.62x39mm steel core and are lighter than Level IV plates, which are required to stop armor-piercing .30-06 M2 AP. For full performance, pair ICW rated plates with soft armor underneath. Choosing the right armor plates means balancing threat level, weight, and mobility-whether soft armor or hard armor, fit your gear to your mission.
Pick a Plate Carrier That Fits Your Mission
You’ve picked the right armor level for your scenario, whether it’s Level IIIA for airsoft brawls or Level III+ for rifle-ready defense, and now it’s time to match that protection with a plate carrier built for your mission. Your Plate Carrier should align with your specific mission-lightweight for recon, modular for assault. The React Plate Carrier ($89.00) fits minimalist home defense with 10×12 plates, while the Skeletac ($317.00) handles heavy tactical loads with 11×14 support. Special operations veterans often choose Best Plate Carriers like the Crye JPC or Agilite for jump capability, agility, and durability across different missions. A proper fit is critical: follow sizing guides, position plates from collarbone to navel, and secure straps snugly-no restriction, full mobility. Whether training or active, the right gear guarantees your Body Armor enhances, not hinders, your tactical performance.
Place Gear for Balance, Speed, and Access
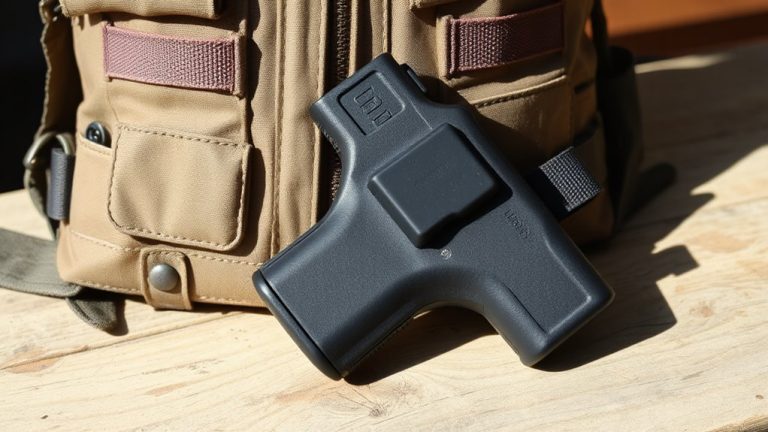
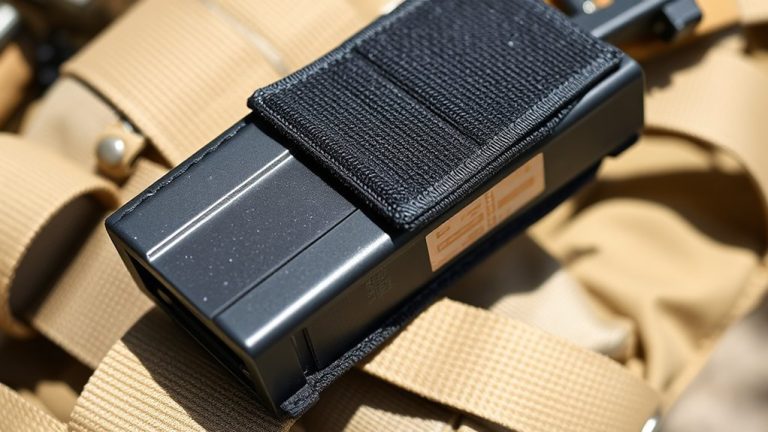
Balance, speed, and access-your plate carrier’s loadout can make or break your performance in the field. When setting up your plate, remember plate carriers are designed to protect critical organs while letting you carry essential gear efficiently. Place rifle mags on the front plate in a single layer, centered-3–4 is ideal for CQB-and they’ll sit high without adding bulk. This keeps your Size Plate Carrier streamlined and balanced. Mount the IFAK on the side or cummerbund for quick access with either hand. Position heavier items like radios near your back’s center or along the cummerbund to avoid strain. Use MOLLE-compatible spots for flashlights or dump pouches. Route radio cables through shoulder straps and secure with retainers-keeps connections clean and snag-free, even with gloves. A solid Plate Carrier Setup means better speed, comfort, and readiness.
Train With Your Setup and Inspect for Wear
Field durability starts with real-world testing-run hard, drop to prone, roll left and right, then reload under time pressure. You’ve gotta train with your full plate carrier setup so everything stays locked in during quick deployment. Whether it’s a tactical vest or minimalist Carrier, stress-test all attachment points while moving fast. After each session, inspect for wear: check stitching, Velcro, and buckles-they take a beating from sweat and dirt. Make sure the Armor plates have no cracks or delamination; even minor damage risks structural integrity. Test quick-release mechanisms monthly-they must work smoothly in emergencies. Keep medical gear accessible and secure after repeated donning and doffing. Clean each component per manufacturer specs, especially after moisture exposure, to prevent fastener degradation. Your life depends on that plate, so stay sharp, stay safe, and keep your gear battle-ready.
On a final note
You’ve picked your threat-rated plates, sized your carrier snug but movable, and balanced mags, med kits, and trauma shears where they’re fast to grab, not dragging you down. Testers clocked sub-3-second magazine changes with chest-mounted AR mags, and SAPI cuts cleared shoulders without snag. Real-world drills confirm: a well-loaded plate carrier cuts fatigue, boosts response. Inspect straps, stitching, and plate seals monthly-it keeps you mission-ready, safe, and moving right.